In This Topic
kintone environment is a prerequisite for using krewDashboard. To set up kintone environment, see kintone documentation.
Steps to use krewDashboard can be divided into three parts:
- Install krewDashboard plug-in (To be done just once by the system administrator in beginning)
- Create an app (To be done once for every app by the app administrator)
- Configure krewDashboard in app (To be done once for every app by the app administrator)
(1)Install krewDashboard Plug-in
To use krewDashboard in all kintone apps, you need to install krewDashboard in your kintone environment. Steps to install krewDashboard in kintone environment are standard (Adding/Deleting Plug-Ins (System Administration)). Following are those standard steps mentioned in the context of krewDashboard.
This operation is carried out by the kintone System Administrator.
-
Open the kintone Administration screen.
See Opening the System Administration Screen.
-
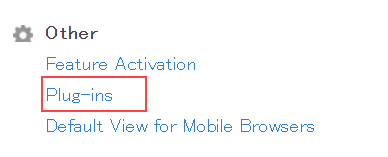
Click Other > Plug-ins.
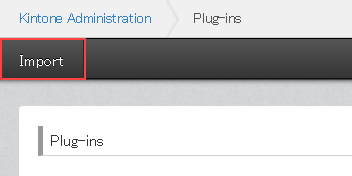
- Click Import.
- Click Browse to select the krewDashboard plug-in file (krewdashboard.zip) and click Import button.
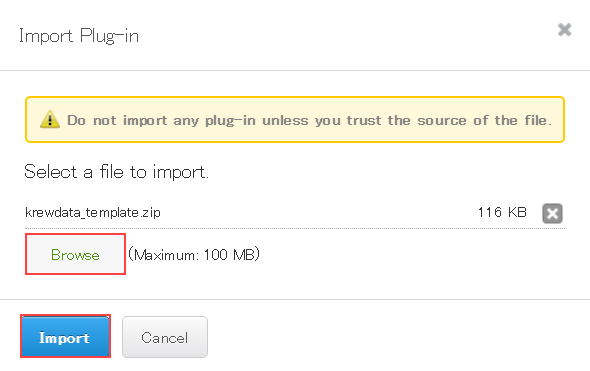
Do not extract the plug-in zip file. Import the krewdashboard.zip file in the zip format itself.
(2)Create an App
This operation is required to be done by app administrator for each app. The following procedure describes how to display the dashboard on the custom view screen. Please refer to the following topics regarding the settings for the detail view and krewSheet sub window.
- Create an app from scratch by following the standard kintone operations (Creating an App from Scratch).
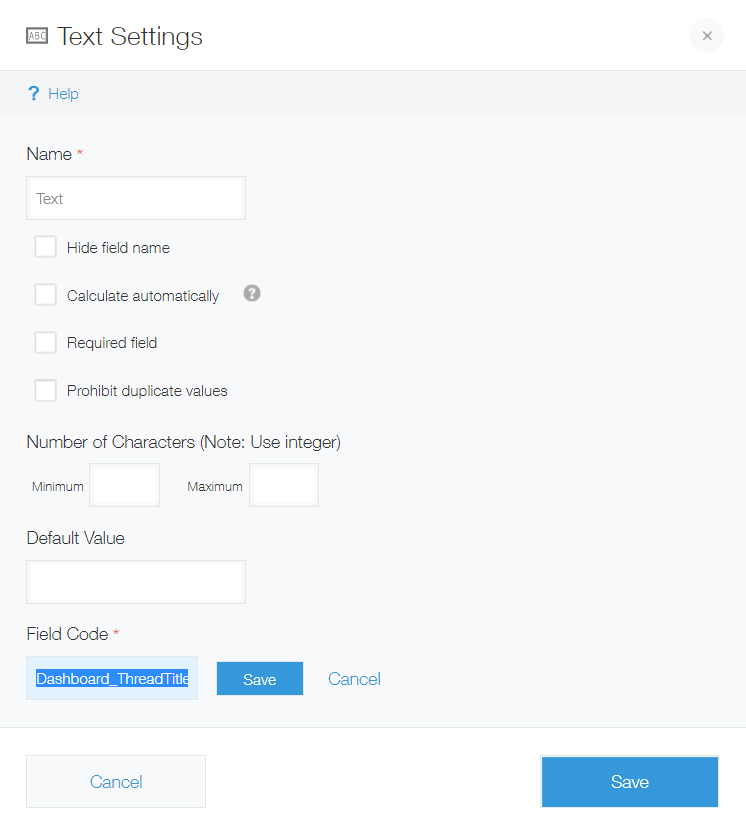
- Drag and drop the Text field and enter "Dashboard_ThreadTitle" in field code.
(3)Configure krewDashboard in app
This operation is required to be done by app administrator for each app. The following procedure describes how to display the dashboard on the custiom view. Please refer to the following topics regarding the settings for the detail view and krewSheet sub window.
App Settings
- Add plug-in to the app
- Add view to the app
- Set up krewDashboard
- License set up
- Feature set up
1. Add plug-in to the app
Steps to add plug-in to an app in kintone environment are standard (Adding Plug-Ins to an App). Following are those standard steps mentioned in the context of krewDashboard.
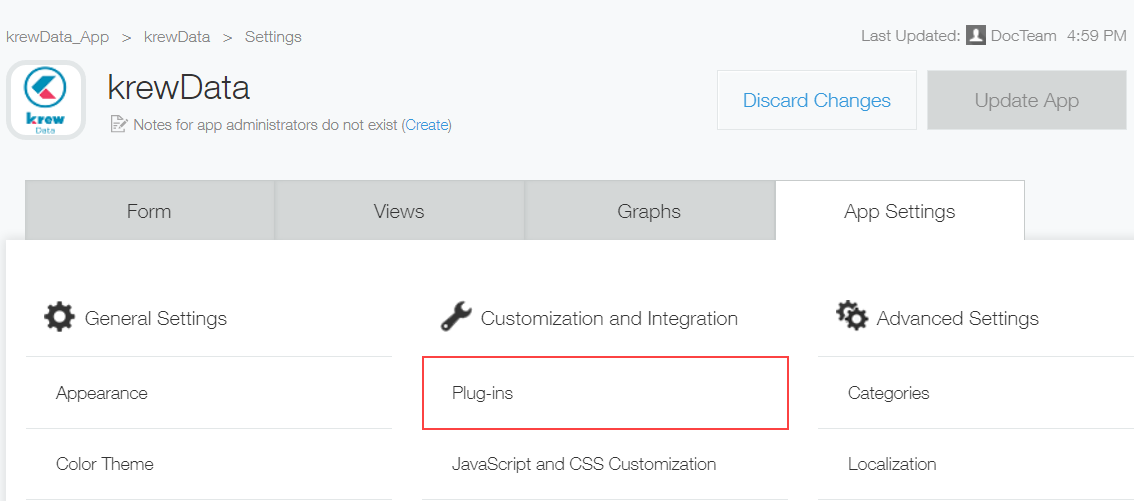
- Go to App Settings tab(Opening the App Settings Page) on Settings page and click Customization and Integration > Plug-ins.
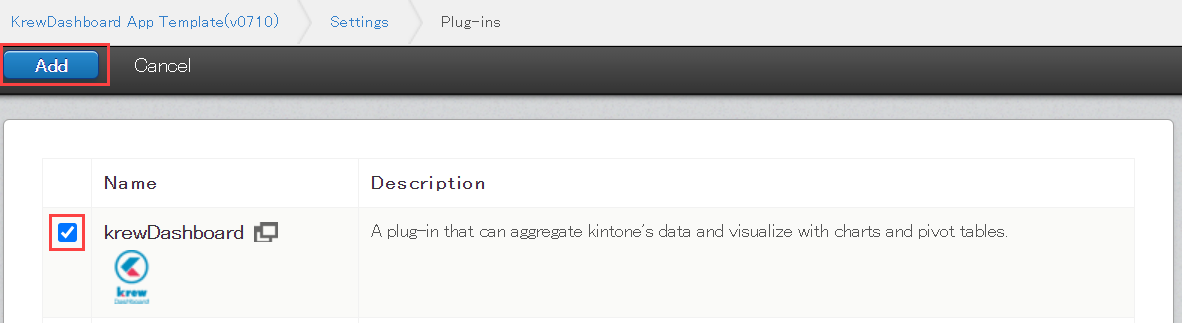
- Click Add plug-in.

- Turn On the checkbox against krewDashboard plug-in and click the Add button.
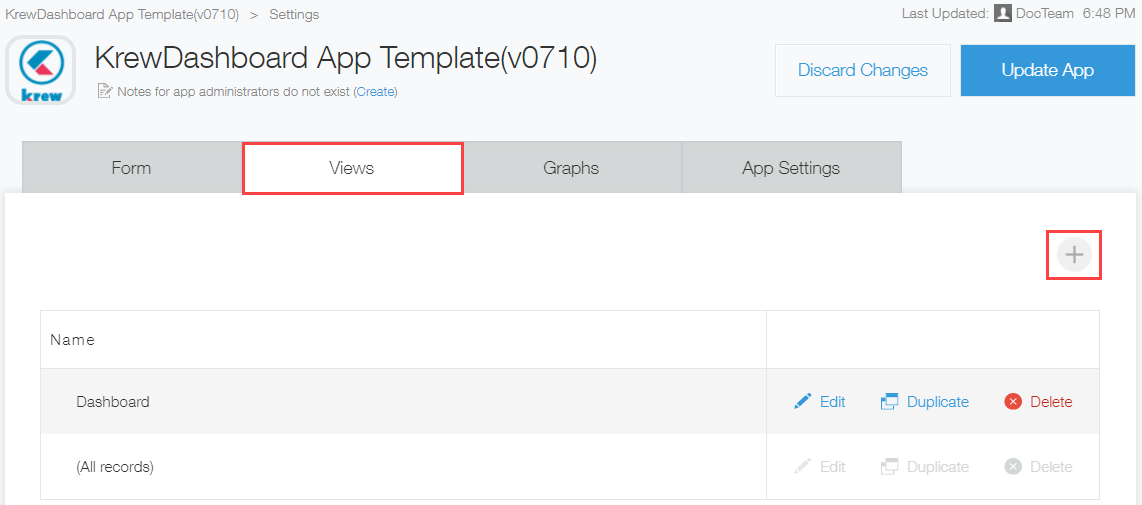
2. Add view to the app
Add a view to display the krewDashboard.
- Go to the Views tab and click + sign on far right of the page.
- Enter Name of the view and select Custom View from Visible Fields and Column Order.
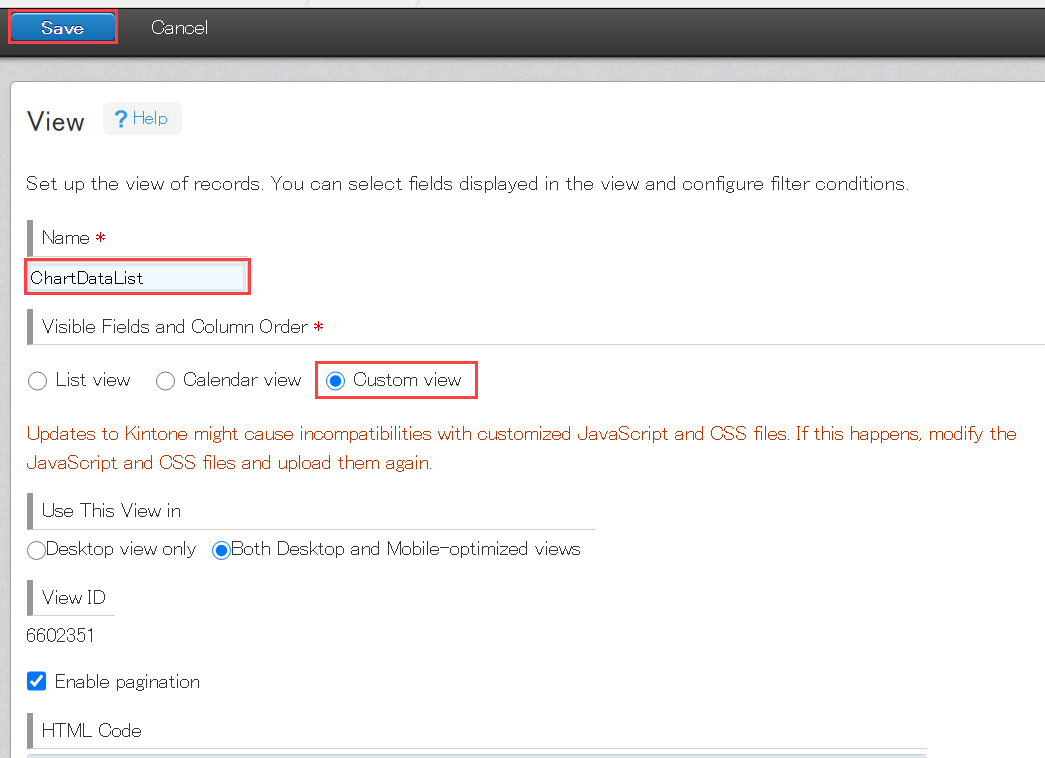
※In case of mobile browser, select "Desktop view only" in "Use This View In" (krewDashboard cannot be used on mobile version).
- Click Save button.
3.Set up krewDashboard
Configure the krewDashboard on Plug-in Settings page.
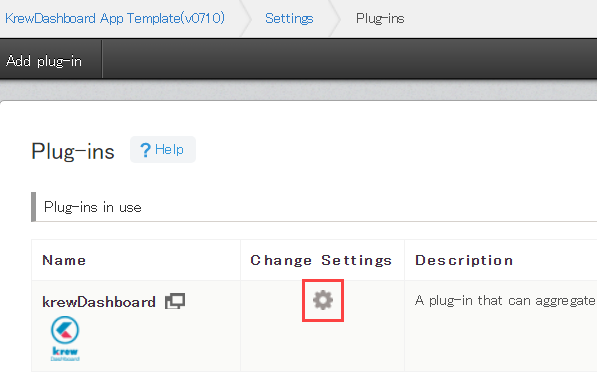
- Go to App Settings tab and click Customization and Integration > Plug-ins.
- Click the gear icon to display settings page of krewDashboard.
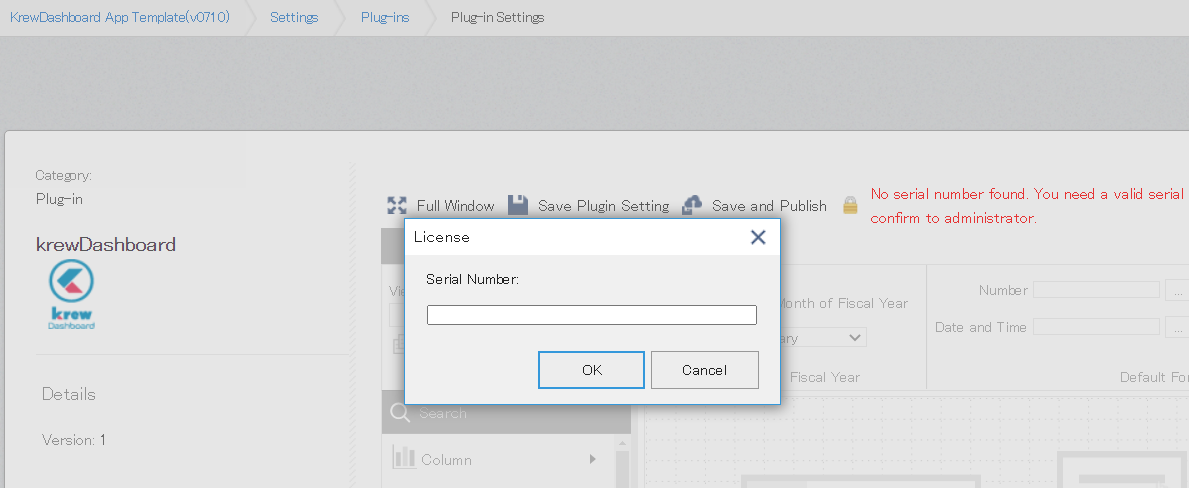
License setting
On krewDashboard Plug-in Settings page, a pop-up asking for serial number gets displayed. Enter the serial number received on purchasing or applying for evaluation version.
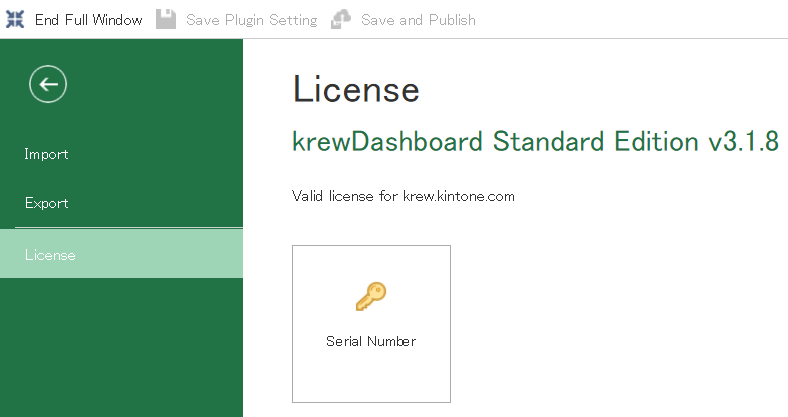
To confirm the licensing status, click License from menu on left side of the File tab.
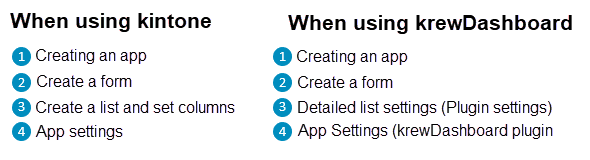
kintone Standard View versus krewDashboard View
This section discusses difference between steps to create app with krewDashboard and without krewDashboard. In case of kintone standard view, all the view settings are done on the View tab. While in the case of krewDashboard, all settings are done on the Plug-in Settings page. Also, kintone standard view displays only records within the app while krewDashboard can aggregate and visualize records of other apps as well in the form of tables and charts.
※Deactivation
This section describes how to deactivate krewDashboard plug-in.
Remove from App
You can remove the krewDashboard plug-in from an app by going to the Plug-in Settings page.
This process is carried out by the app administrator for each app.
- Open the Settings page of app.
See Opening the App Settings Page.
- On the Settings page of app, go to App Settings tab and click Customization and Integration > Plug-ins.
- Click the recycle bin icon on far right.

- Click Remove button when asked "Are you sure you want to remove this plug-in?".
Uninstall the krewDashboard Plug-in
This action disables krewDashboard in all the apps.
This operation is performed by the krewDashboard system administrator.
- Open the kintone Administration screen.
See Opening the System Administration Screen
- Click Other > Plug-ins.
- Click the recycle bin icon on the far right.
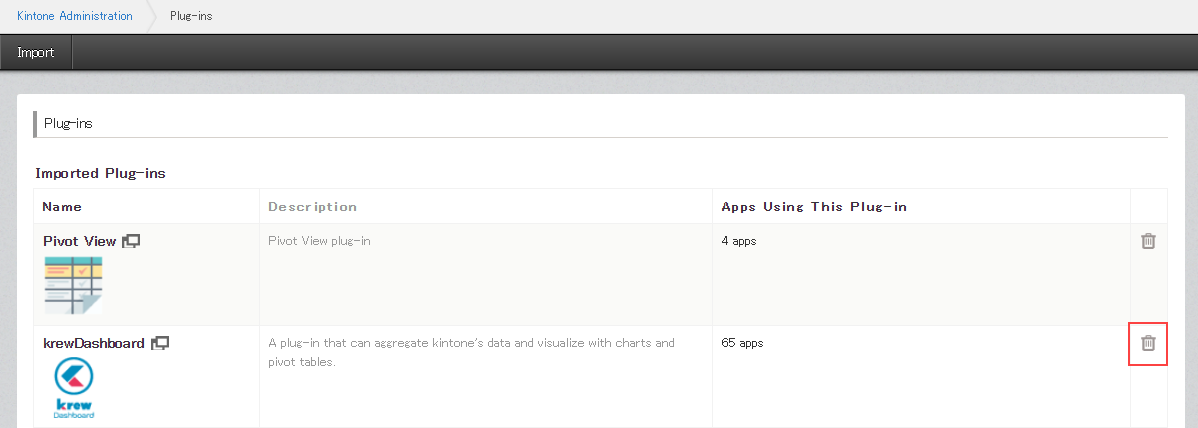
- Click Uninstall button when asked "Are you sure you want to uninstall this plug-in?".
See Also