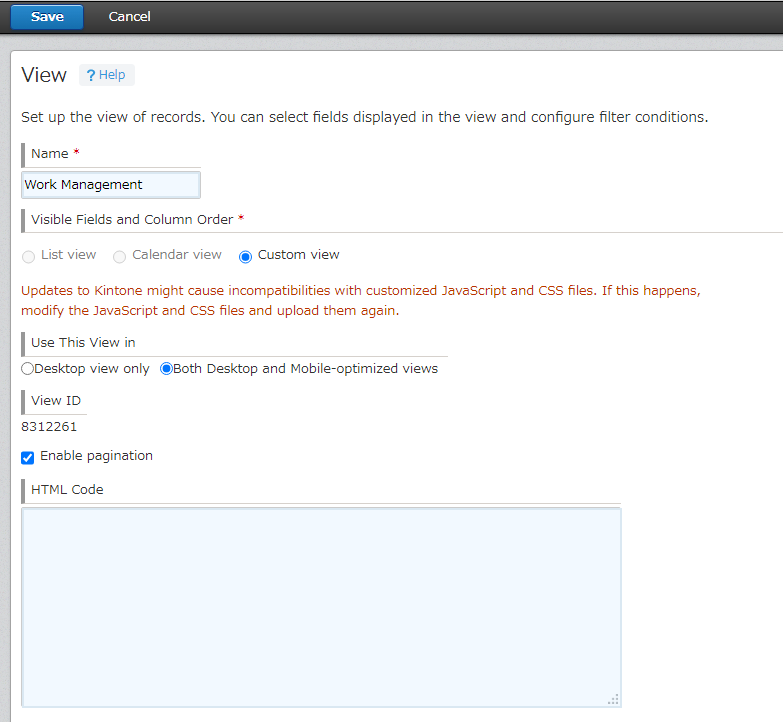
- Create a Custom view in View screen.
Display in krewSheet Sub Window
In This Topic
In this topic, we will discuss about the method to display krewDashboard in the krewSheet sub window.
App Configuration
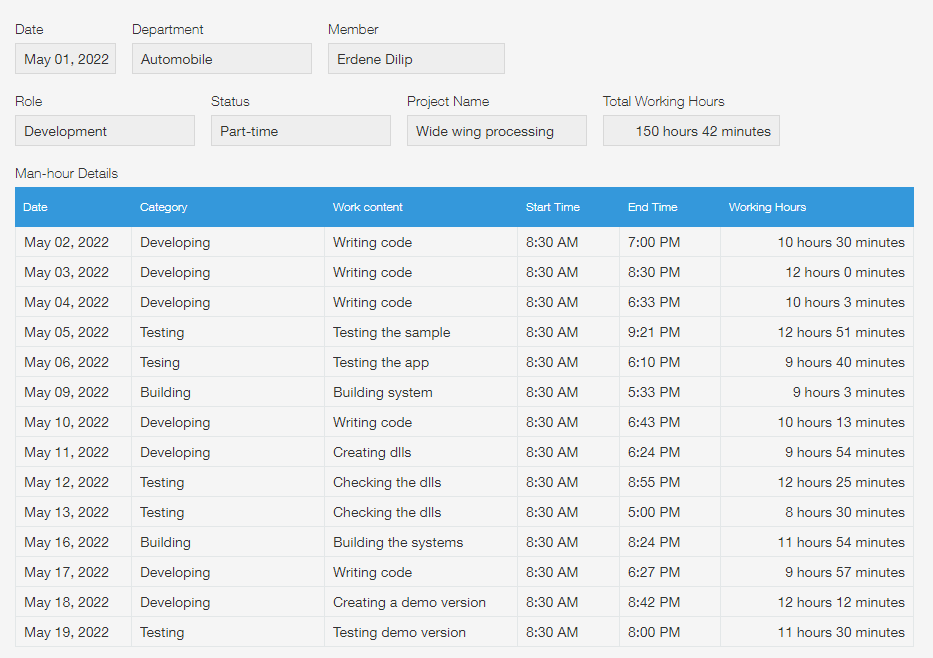
Work Report App
An app that provides a report on the amount of work completed by each member over a period of one month.
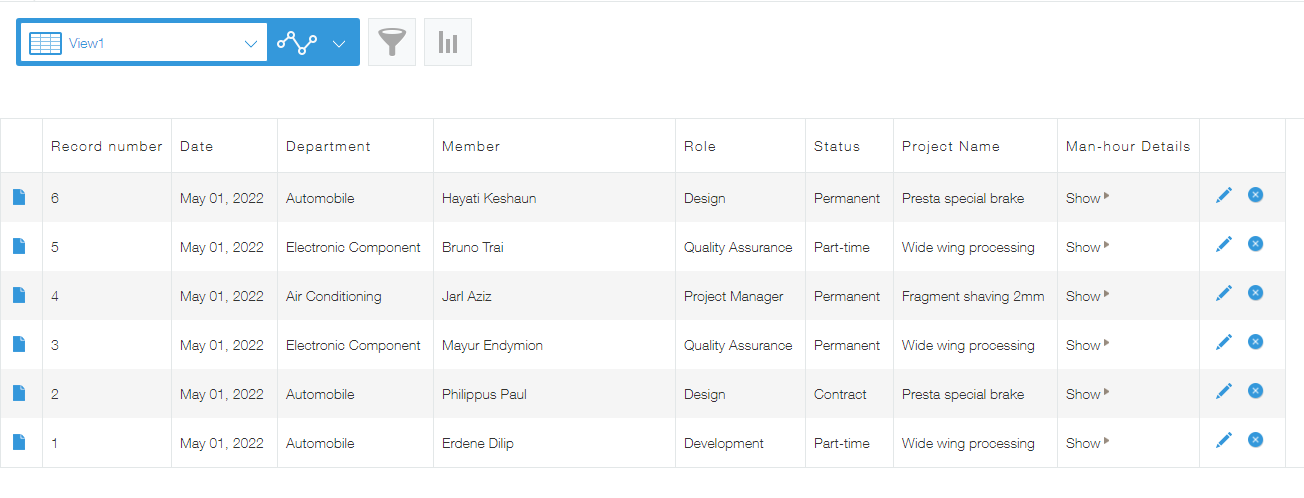
The following layout is for entering the monthly working hours in a table.
When displaying a dashboard in a krewSheet sub window, you will be able to switch back and forth between krewSheet settings and krewDashboard settings. To achieve the same, you can follow the listed steps.
- Create a view (Custom View) for krewSheet.
- Add krewSheet and krewDashboard plugin in the app.
- Configure krewSheet plugin.
- Configure krewDashboard plugin.
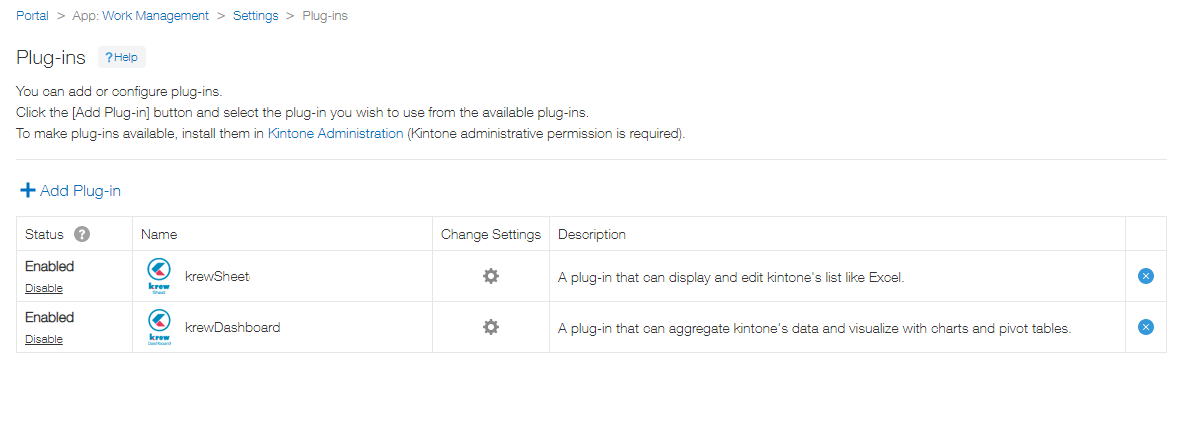
Note : Make sure to add krewSheet and krewDashboard plugins to the same app.
1. Create a view (Custom View) for krewSheet
2. Add krewSheet and krewDashboard plugins
- Add the krewSheet and krewDashboard plugins to Work Report app.
3. Configure krewSheet plugin
- Open Plug-in Settings screen of krewSheet.
- Set items to be displayed in krewSheet.
※There is no problem to set any item.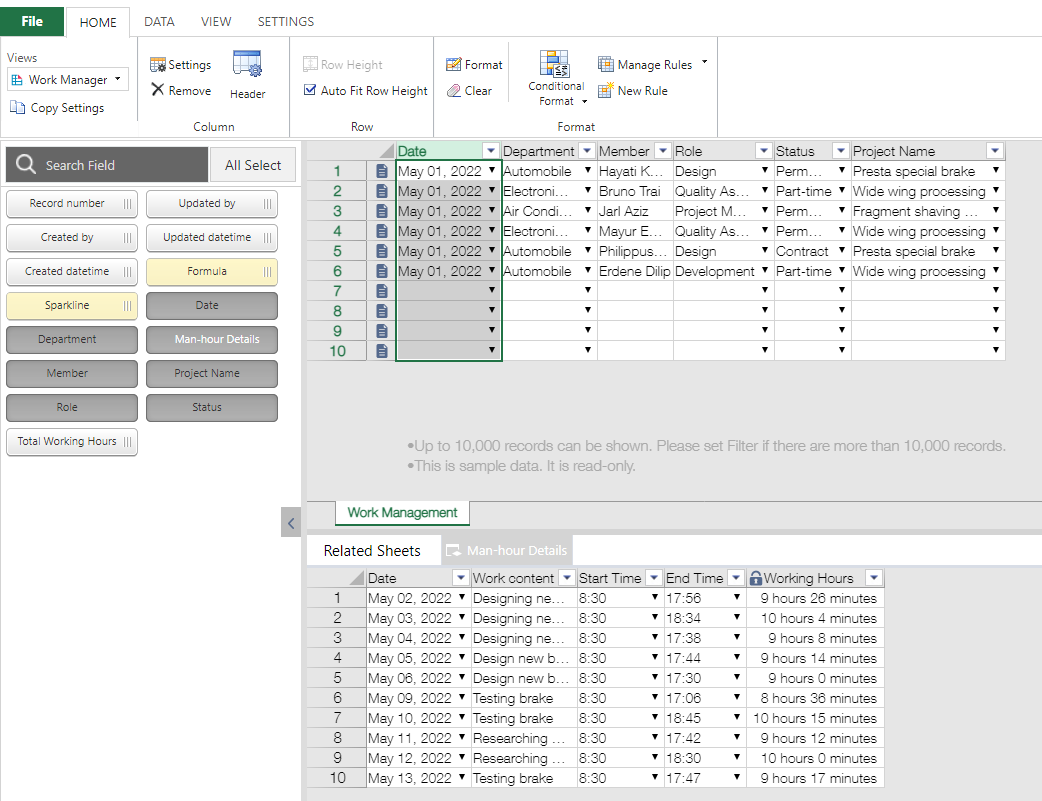
Set sub window to display the krewDashboard
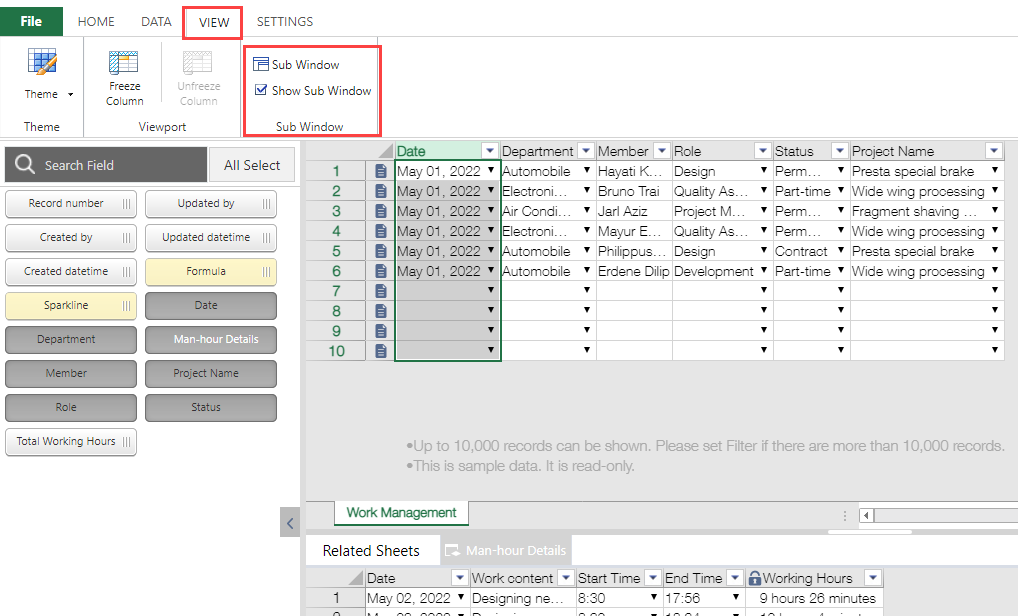
The sub window feature includes the ability to display krewDashboard in krewSheet. You need to configure the settings so that krewDashboard can be displayed in the sub window.
- Click on the View tab on the ribbon menu.
- Enable the Show Sub Window option and click on the Sub Window.
- In the Sub Window Setting dialog box, you can set the following.
Title : Project Dashboard ※ You can set any name.
Type : Show krewDashboard
※ It will not be displayed in apps that do not have krewDashboard plugin.
※ Since the ID is generated automatically, you do not have to perform any settings (cannot be edited).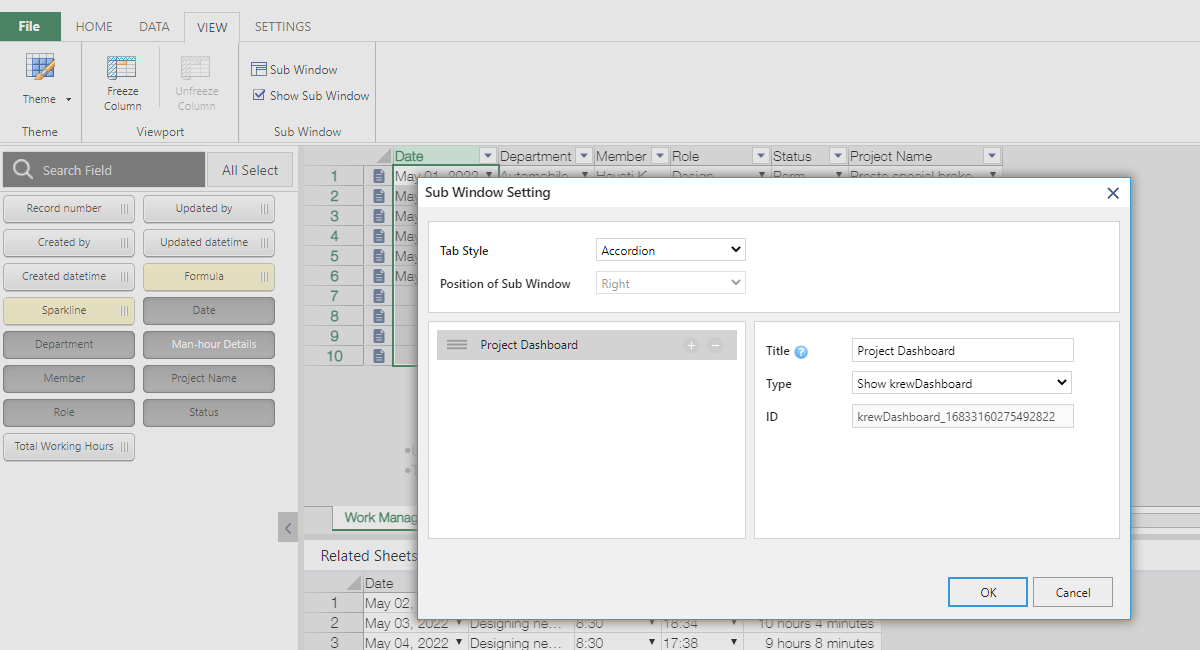
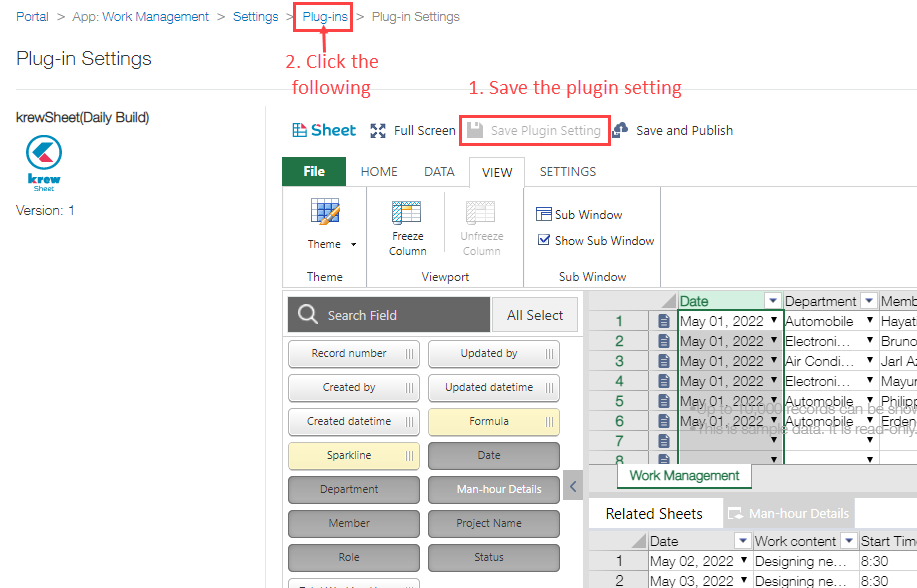
- Save the plugin settings and return to the Plug-in Setting screen.
4. Configure krewDashboard plugin
- Open Plug-in Settings screen of krewDashboard.
- Click the Views drop down in the Home tab.
- Select "Work Management_Project Dashboard" in the krewSheet Sub Window.
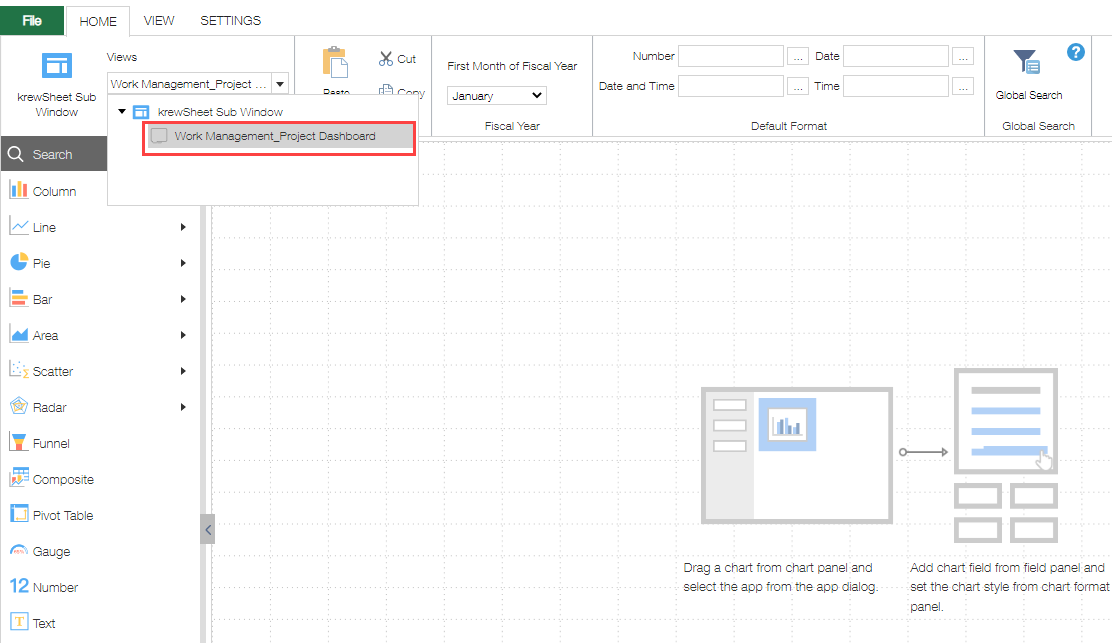
※ The name "Project Dashboard" displayed above is the name given when setting the sub window of krewSheet.
Add number chart that displays the total working time
In order to add number chart that display the total working hours, follow the steps.
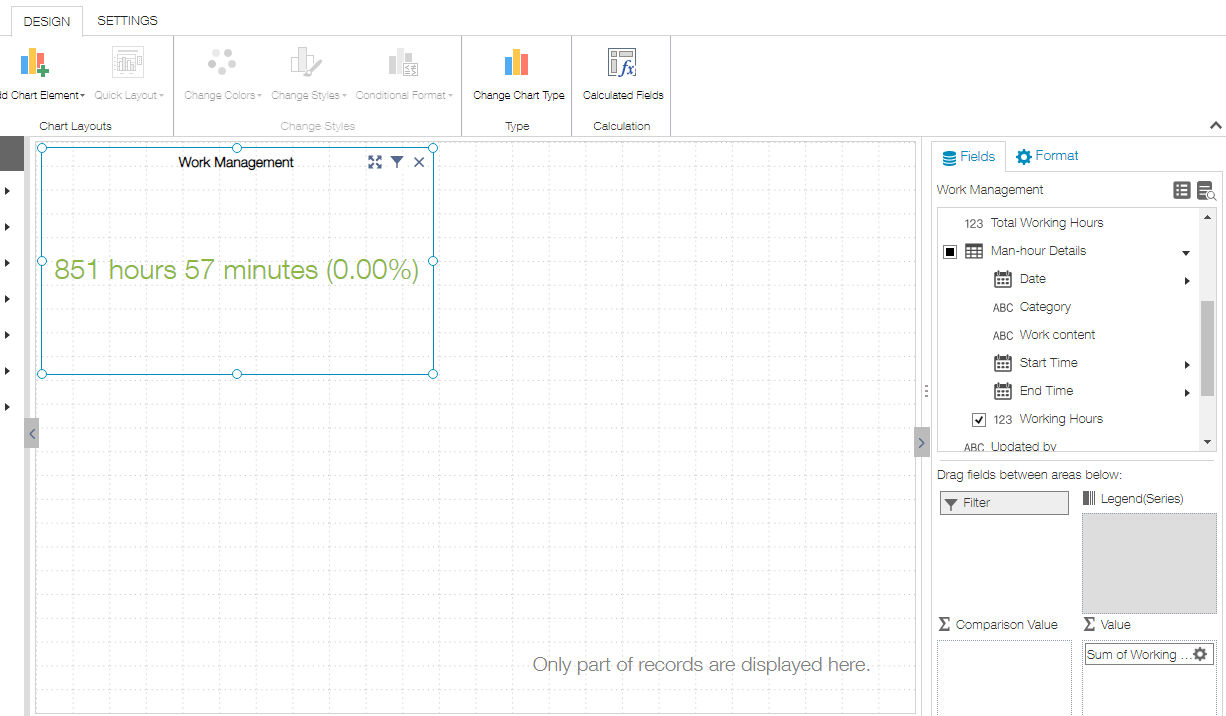
- Add the Number in the page area.
- Set the "Work Report" app in the data app.
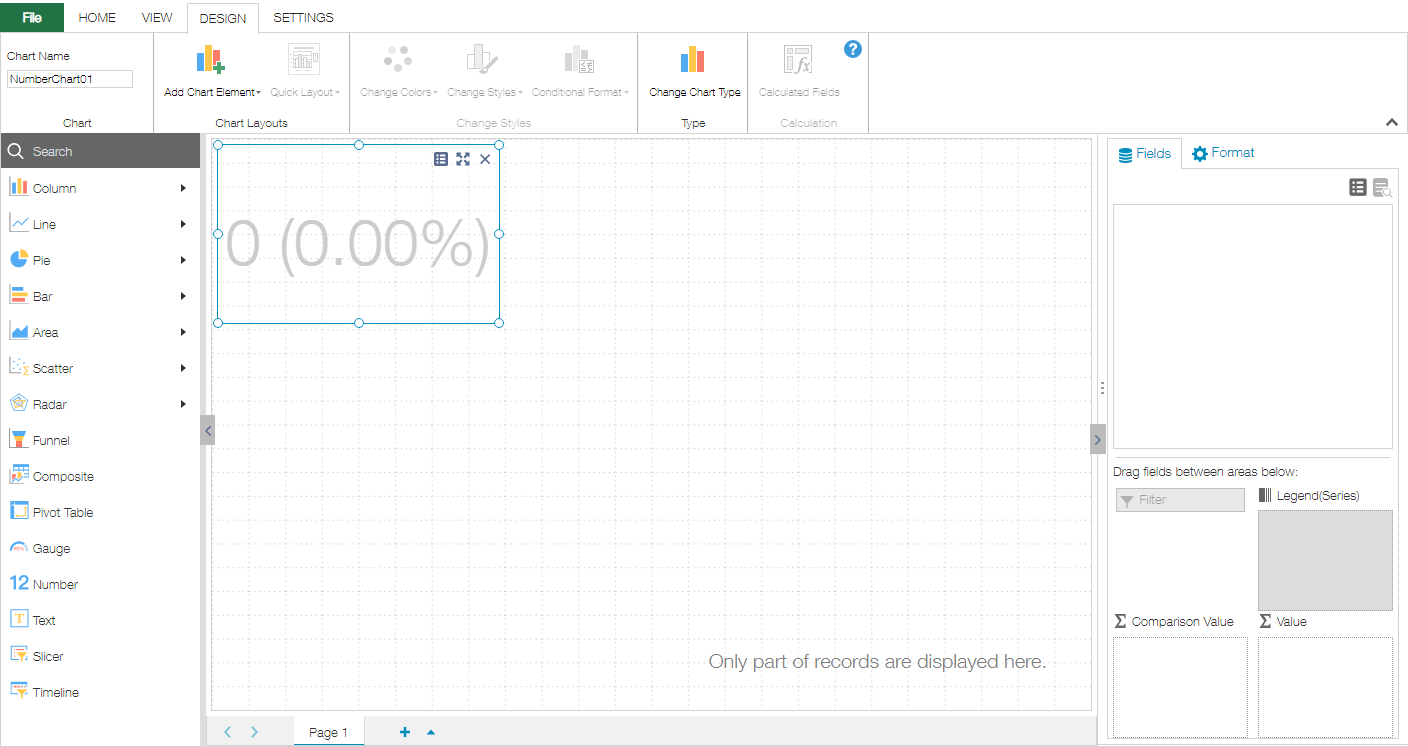
- Set working hours field in value item.
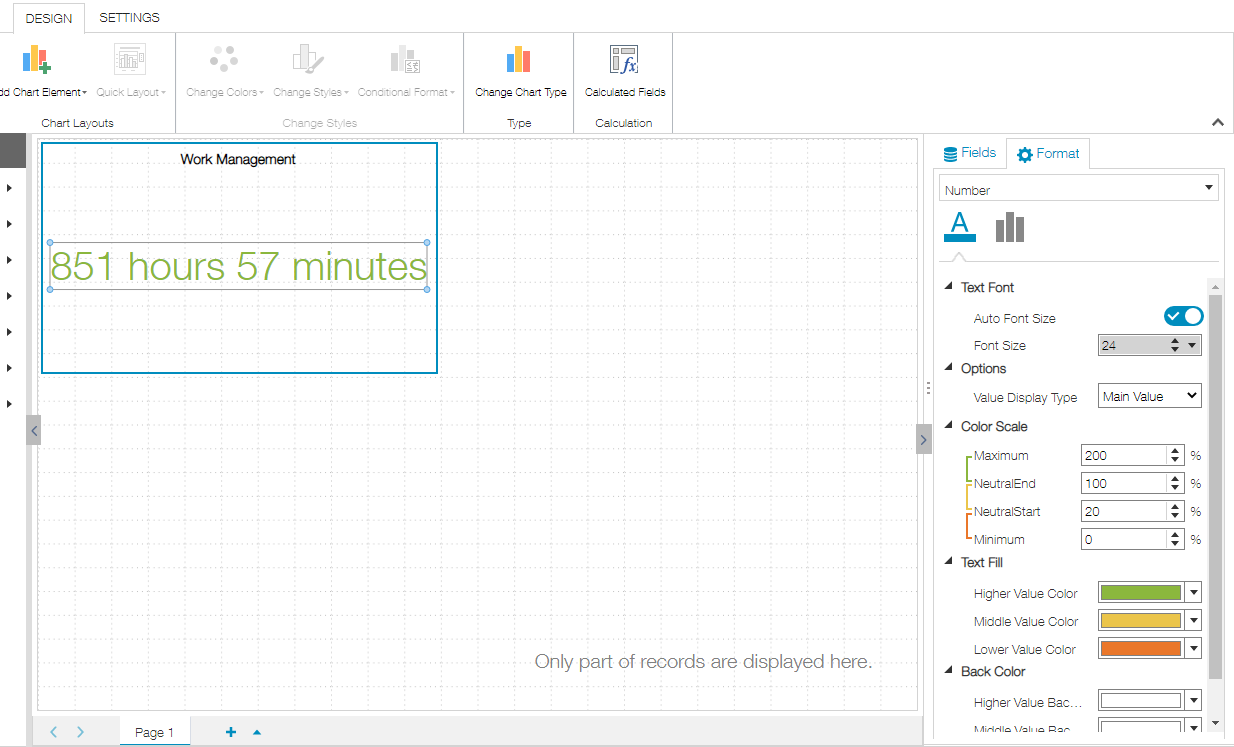
- Switch the tab on the right side to Format setting and select the Number from the drop down list.
- Select Main Value from the Value Display Type drop down list.
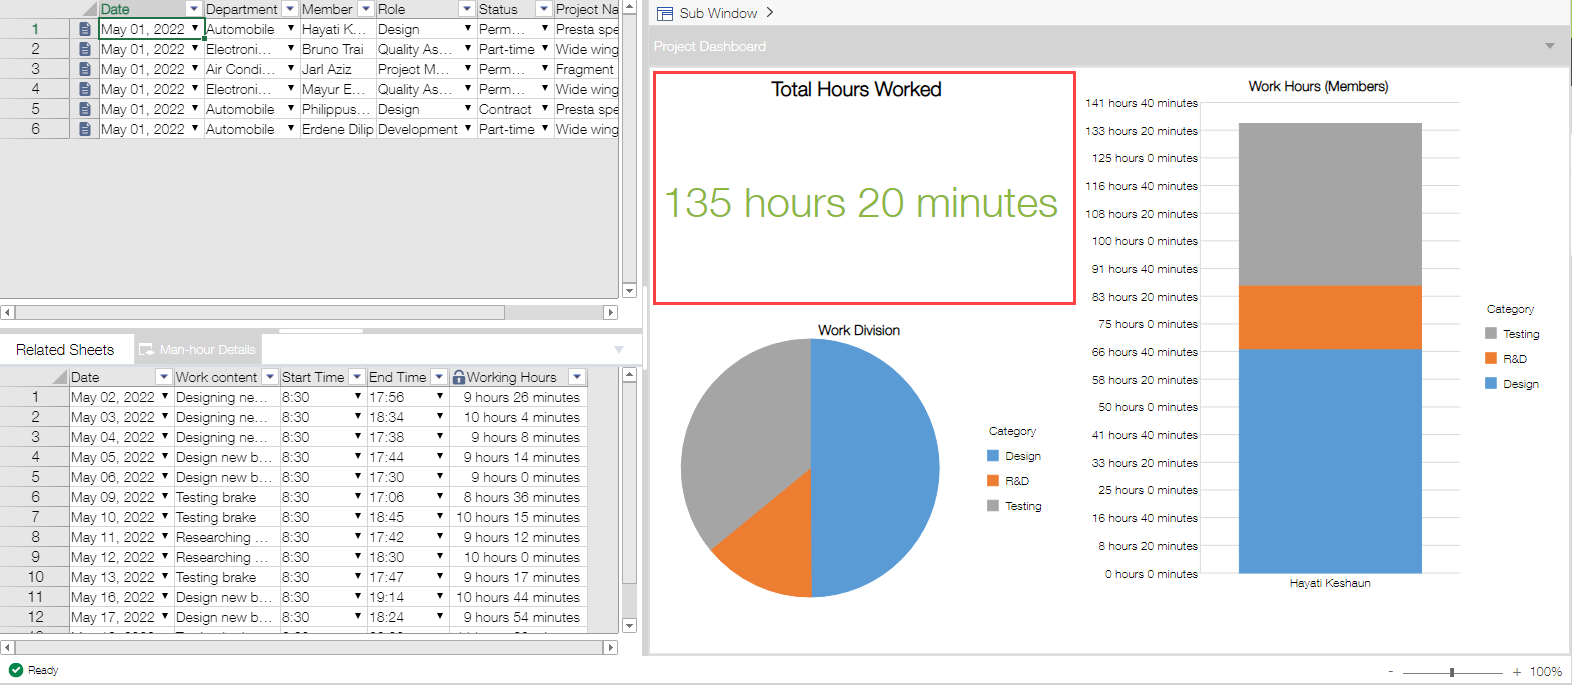
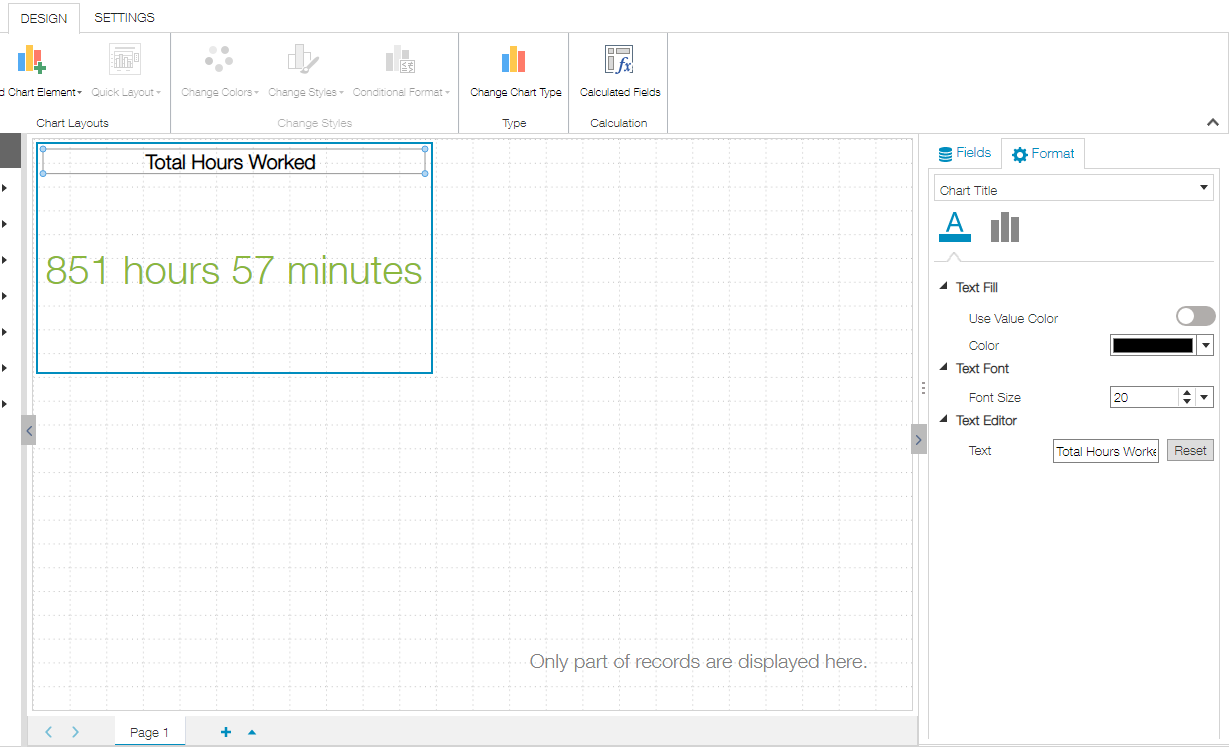
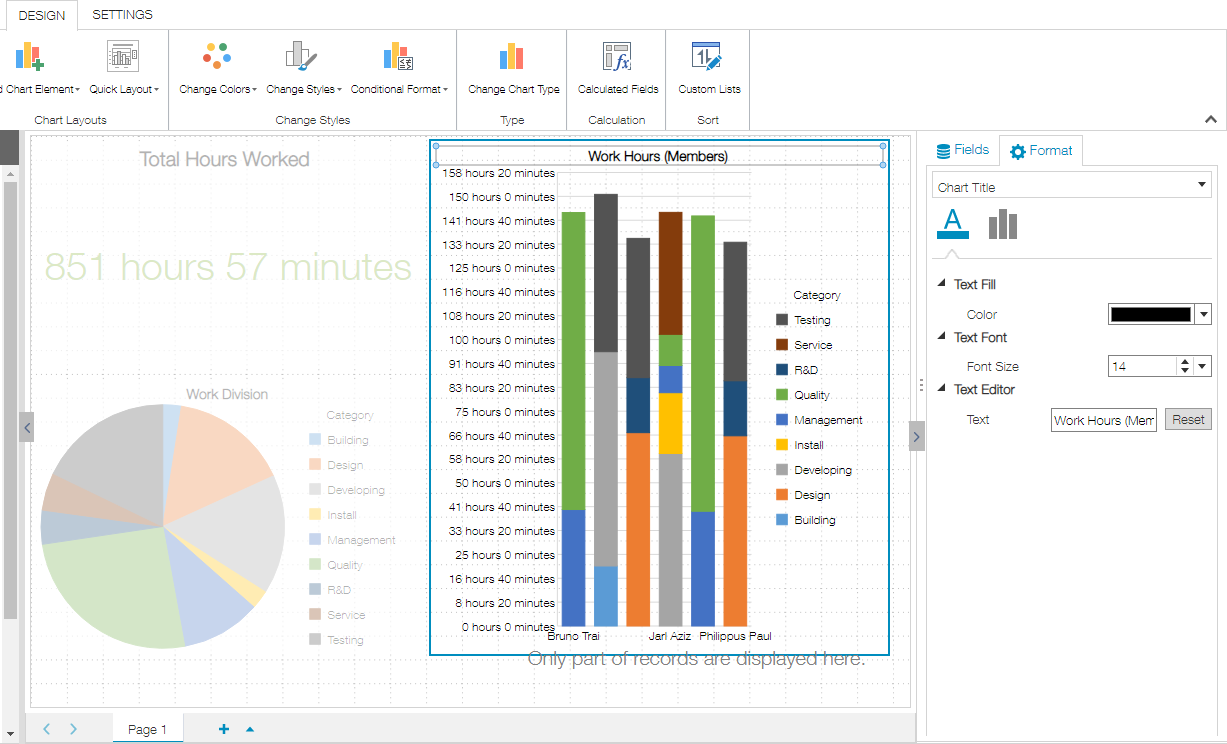
- Double click the title of the chart and change the title to "Total Hours Worked".
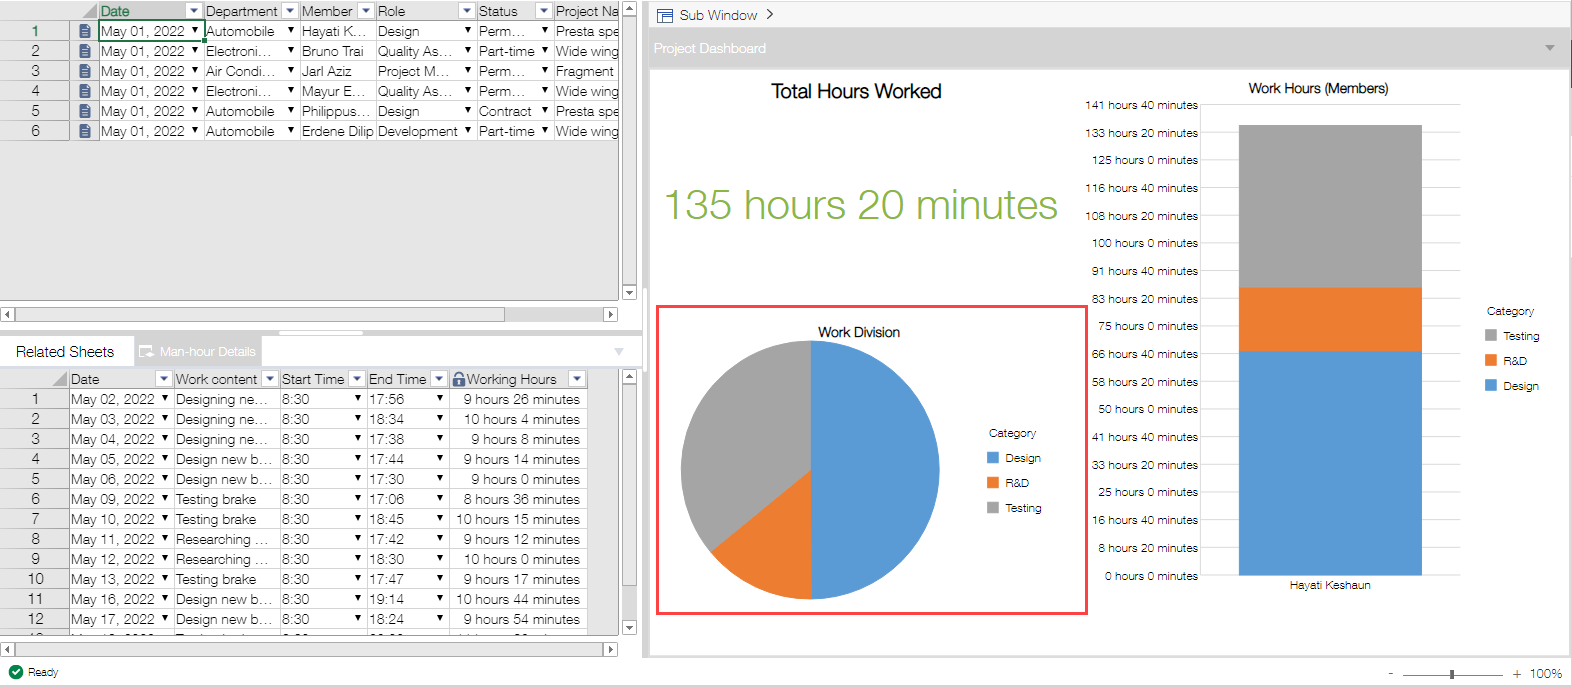
Add pie chart that displays the amount of effort spent on each task
In order to add pie chart, follow the steps.
- Add a pie chart in the page area.
- Set the "Work Report" app in the data app.
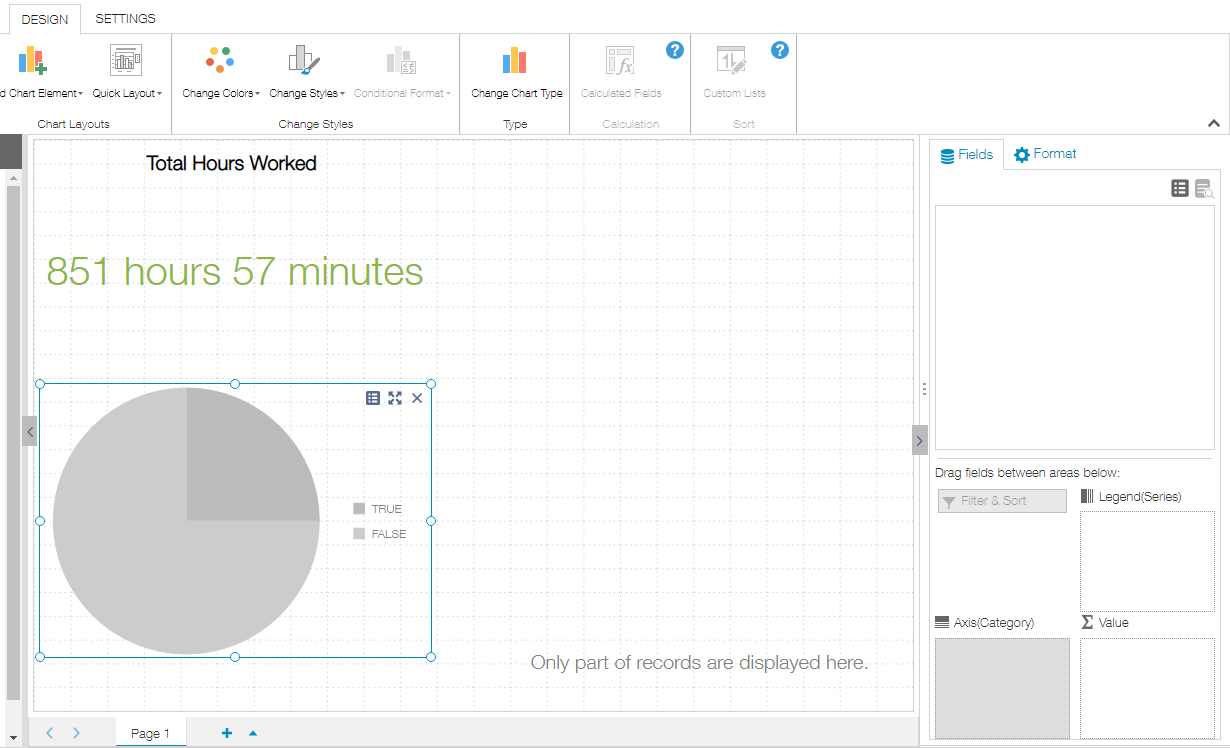
- Set fields for each item.
- Legend(Series): Category
- Value: Working Hours
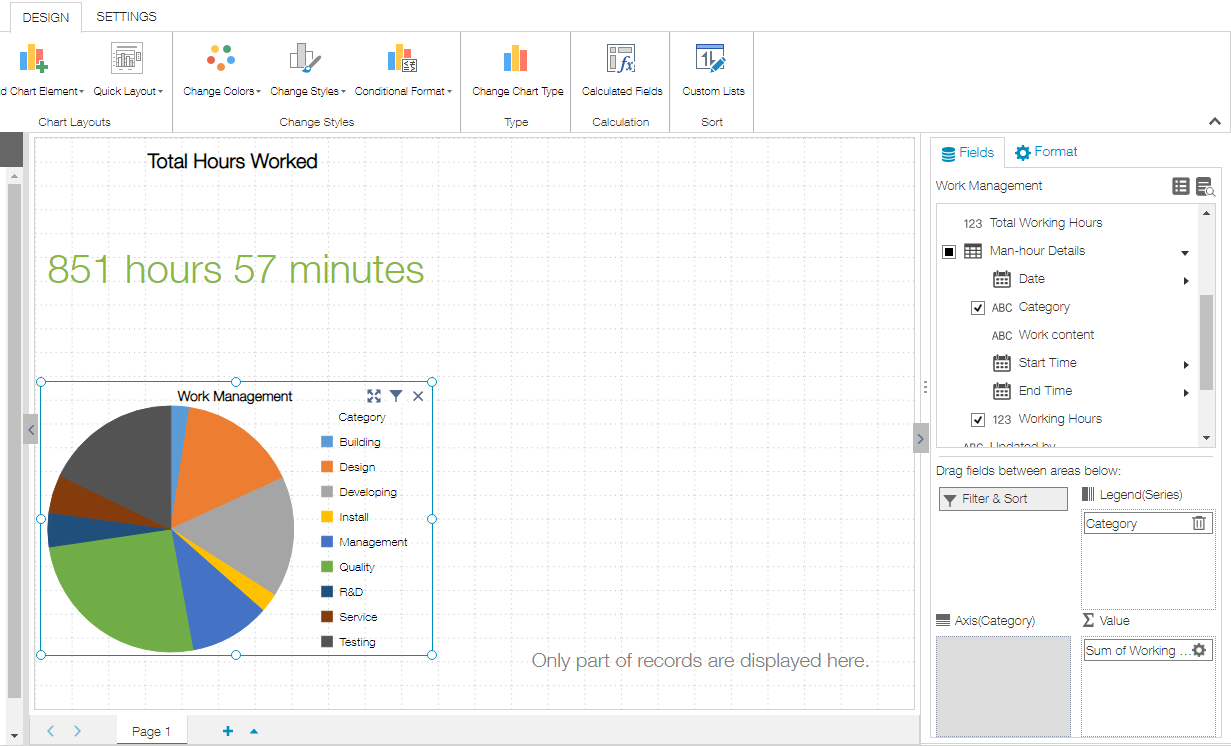
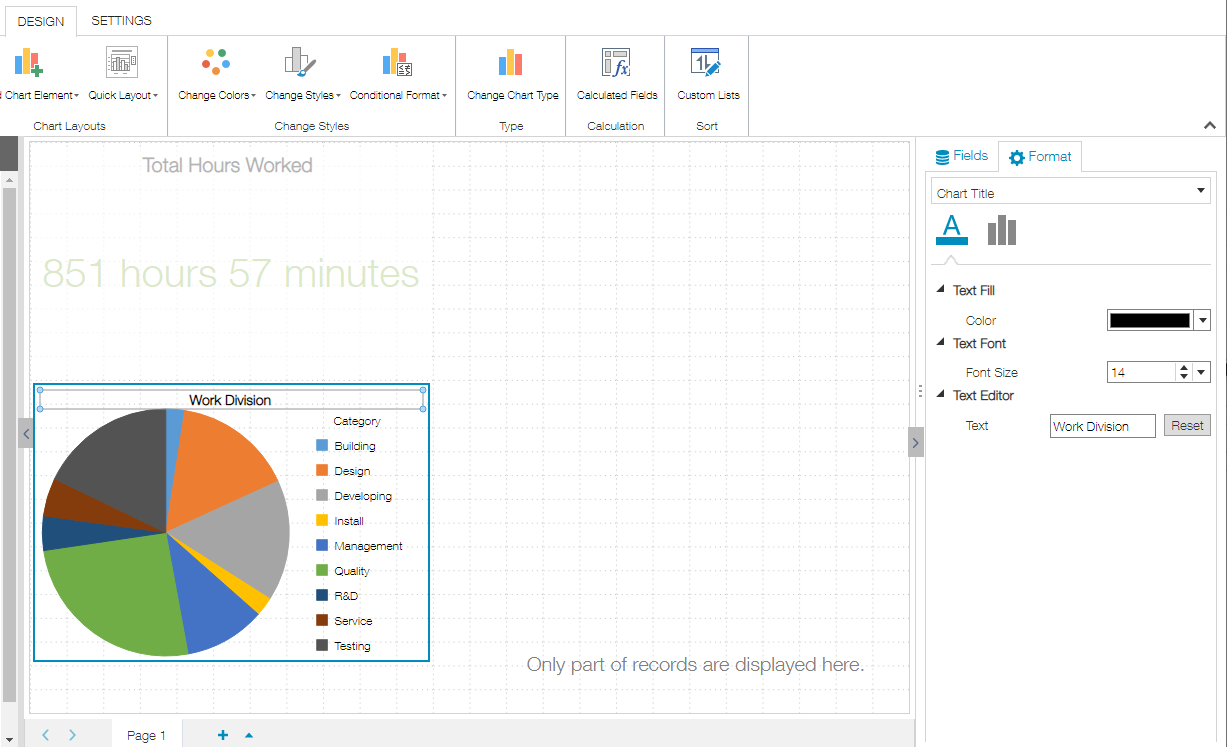
- Double click the title of the pie chart and change the title to "Work Division".
Add column chart that displays the level of involvement of each member in their respective projects
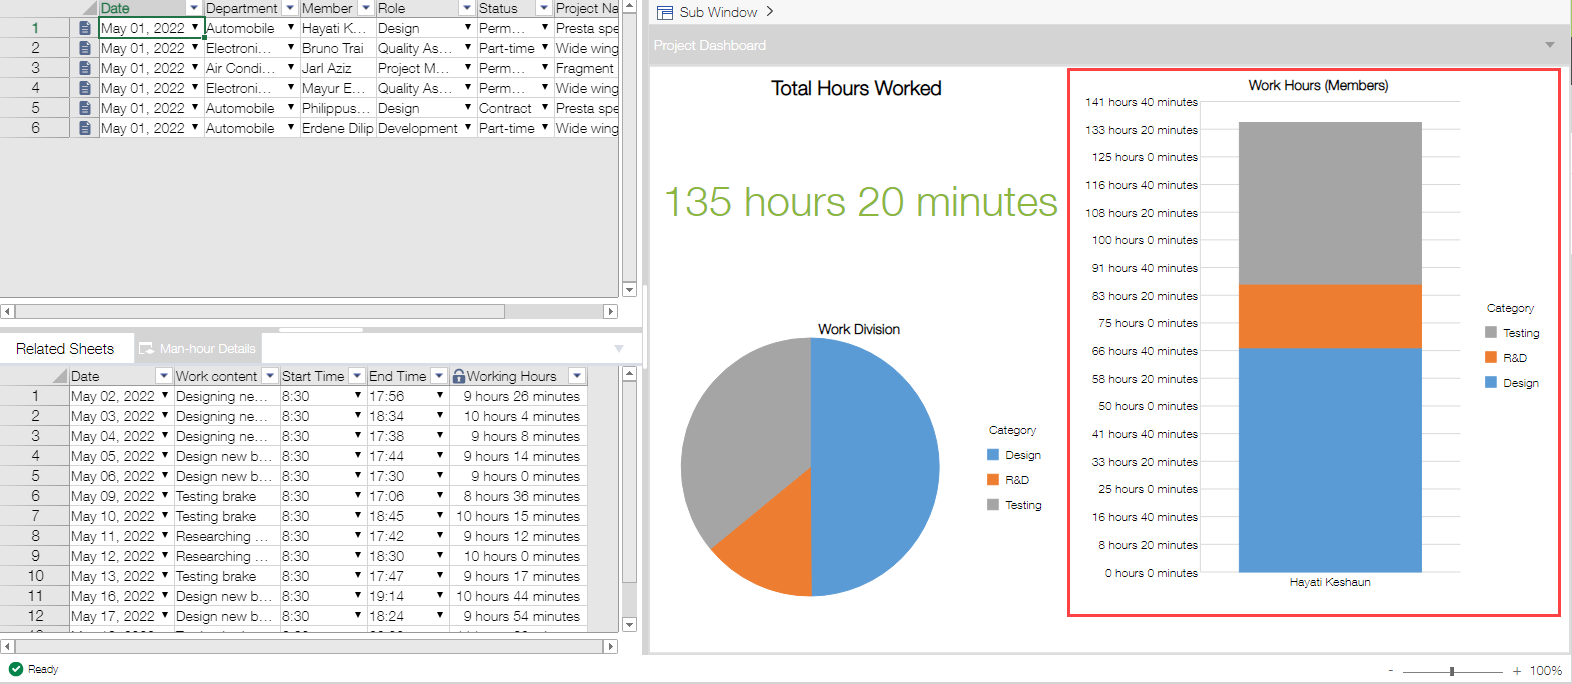
In order to add column chart, follow the steps.
- Add a stacked column chart in the page area.
- Set the "Work Report" app in the data app.
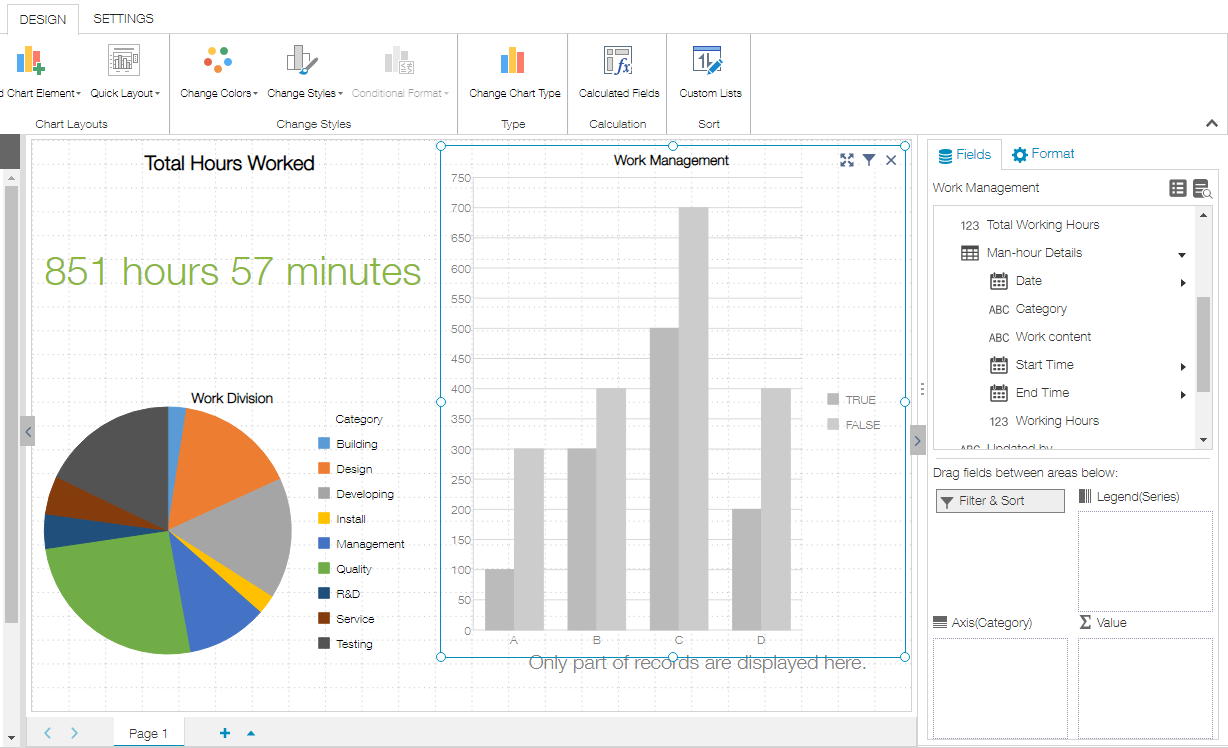
- Set fields for each item.
- Legend(Series): Category
- Axis: Member
- Value: Working Hours
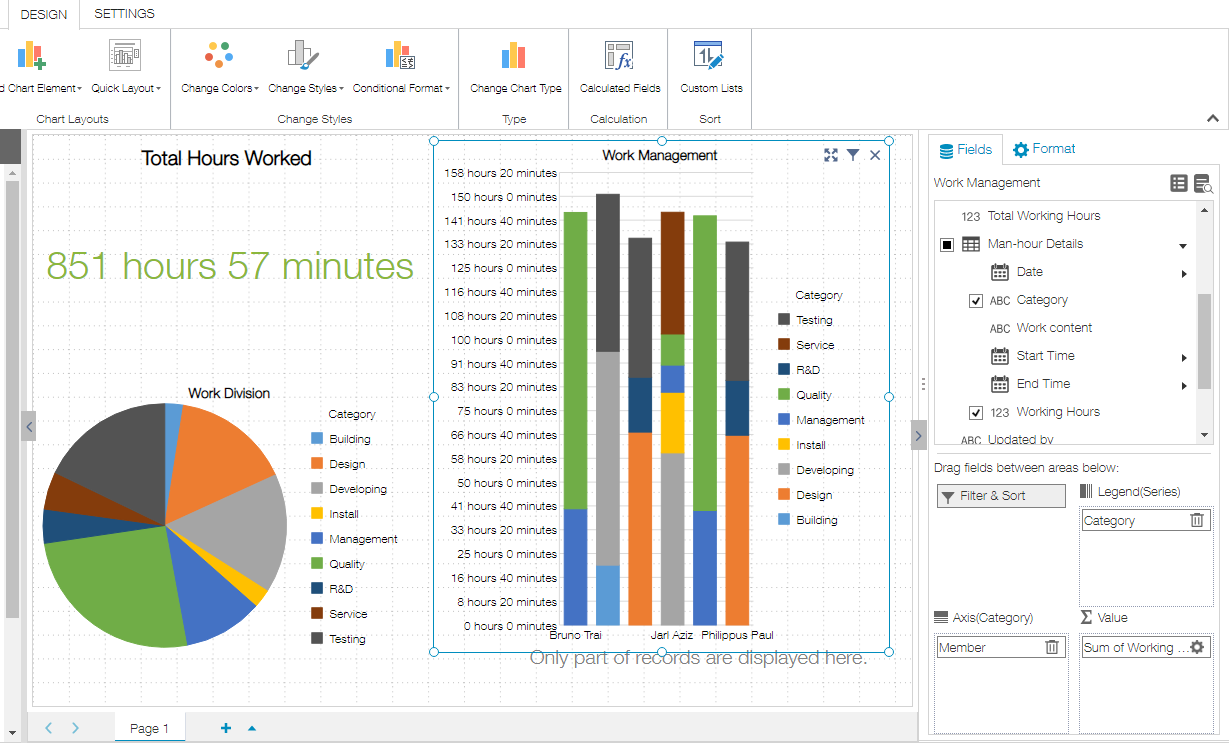
- Double click the title of the column chart and change the title to "Work Hours (Representative)".
- Add the Number in the page area.