In This Topic
When you run the krewSheet in Xross mode, you can see a view of Excel-like pivot tables as shown in the following image. In this section, we will explain the details of each item on the screen when one view is displayed. To display the source data under the pivot table, refer to "Display Details View" topic.
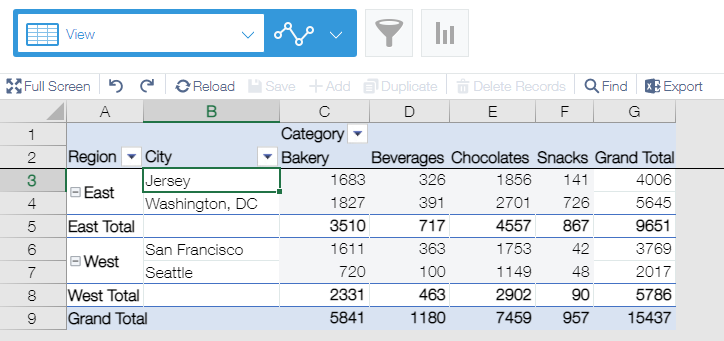
Command Bar
The command bar is a toolbar displayed at the top of the pivot table.

- Full Screen
Specifies whether to display in full screen.
- Undo
Undo the last operation. Undo is effective to unsaved data only. Once the data is saved you cannot use undo operation. For details, refer to Undo and Redo Operation topic.
- Redo
Repeat the last operation. For details, refer to Undo and Redo Operations topic.
- Reload
Reload the record from the server.
- Save
Register the record to the server. For details, refer to Save Data topic.
- Add
You cannot add new record from the command bar in the pivot table. You can add a record by entering a value in a blank cell that has no record on the pivot table. For details, refer to Add New Record topic.
- Duplicate
Record cannot be duplicated in the pivot table.
- Delete Records
Record cannot be deleted in the pivot table.
- Find
Open "Find and Replace Data" dialog.
- Export
Export the view in Excel.
Context Menu
Basic Context Menu
While running the app, you can click or right-click to select one of four areas: column, row, cell, and entire sheet. In addition to selecting the area, right-click shows the context menu. Depending on where you right-click, one of the following context menus appears.
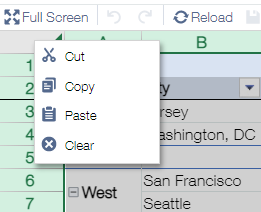
When Column Header Is Right-clicked
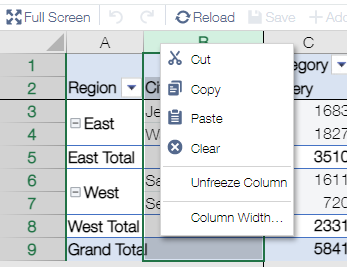
- Cut, Copy, Paste, Clear
Move, copy and clear the data in the selected column. You can also select multiple columns and operate them at once.
- Freeze Columns (Unfreeze Columns)
Pins the left column from the selected column. Frozen columns are always displayed on the screen, even when scrolling. To unfreeze them, click Unfreeze Columns.
- Column Width…
Specify the width of the selected column.
When Row Header Is Right-clicked
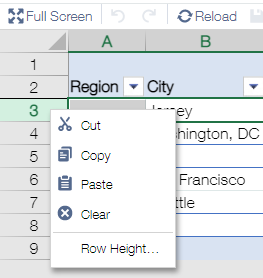
- Cut, Copy, Paste, Clear
Move, copy and clear the data in the selected row. You can also select multiple rows and operate them at once.
- Row Height
Specify the height of the selected row.
When Corner Header Is Right-clicked
- Cut, Copy, Paste, Clear
Move, copy and clear the data of the selected sheet. The copied data is saved in the clipboard and can be copied to another application.
When Cell is Right-clicked
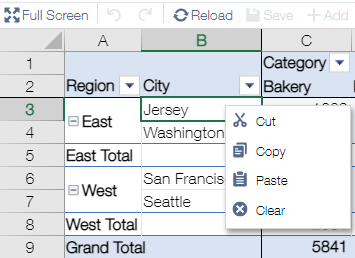
- Cut, Copy, Paste, Clear
Move, copy and clear the selected cell. You can also select multiple cells and operate them at once.
- Save Record
Save the edited record. The edited cell is underlined in yellow.
Footer
The footer is the toolbar that appears at the bottom of the krewSheet sheet. It is divided into the following three areas. For details of (1) to (3), refer to the following explanations.
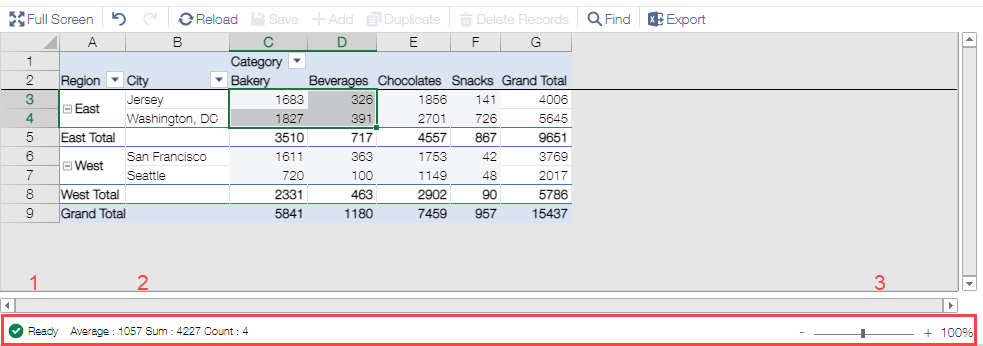
1. Editing Information Area
2. Auto Calculation Area
The following are aggregated and displayed:
- Average:
Average of number in selected cell range. Only the cell with a numerical value is used for the calculation of average. For example, if a blank cell is included, the blank cell will not be used to calculate the average.
The average result is displayed up to 9 digits after the decimal point.
- Sum:
Sum of number in selected cell range.
- Count:
Count of selected data range.
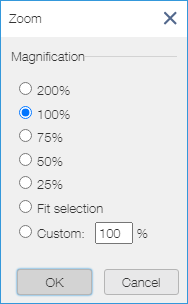
3. Zoom Area

You can use the slide bar to zoom in and out the page. The zoom range is 25% - 400%.
Click the number on the slide bar to display the following screen, where you can customize the zoom ratio.